

Ok, we've got fabric on the fuselage bottom and passenger (right) sides. We're now trying to put fabric on the pilot (left) side. The side with the tail moving handle. Any tips on how to handle the handle? ha ha. What order of attachment did you follow? I figure we're going to have to cut a slit to allow the handle to come through the fabric. How do you keep the slit from wanting to move around as you attach the fabric around the perimeter.
===
Michael
Fuselage Fabric
-
mhcrowder

- Veteran Member
- Posts: 183
- Joined: Sat Aug 28, 2004 9:18 am
- Location: Cary, NC
- Contact:
Fuselage Fabric
Building Highlander #371
http://highlander371.blogspot.com/
http://highlander371.blogspot.com/
-
danerazz
- Veteran Member
- Posts: 1240
- Joined: Tue Aug 18, 2009 9:33 pm
- Location: Bangor
Re: Fuselage Fabric
I wish I had sage advice, but I tacked the fabric in a few spots and eyeballed the slit, and it just kind of worked out. I then made two patches, one that fit in the handle area and had the ends cut to go around the handle, and one that was the opposite, and had a slit to put the handle through. I put one over the other.
If I did it again, I think I might cut the slit in a “U” shape instead of a straight line, then I could put a patch over and not have to try to work inside the handle area.
Also, I deviated from the normal “bottom-side-side” cover method and did one side then the other, bottom stringer to top stringer, and covered the fuselage with two pieces total.
Dane
Paralysis by analysis
#242
Paralysis by analysis
#242
-
stede52

- Premium Member
- Posts: 1066
- Joined: Thu Sep 06, 2007 11:40 am
- Location: Carnation, WA
Re: Fuselage Fabric
Another thing to do is take measurements from each end of the handle attachment points to a couple points at the rudder/fuse transition bow and transfer those measurements to the fabric. We found out eyeballing did not give us the correct placement for the handle cut  Once we made the cut and fitted it around the handle ends we taped the cut together under the handle to temporarily hold it together and in place. Of course we did a couple practice pieces before the final fit.
Steve D N419LD
-
Tralika
- Veteran Member
- Posts: 386
- Joined: Thu Oct 08, 2009 12:49 pm
- Location: Wasilla Alaska
Re: Fuselage Fabric
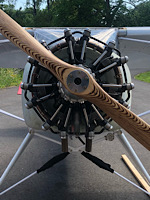
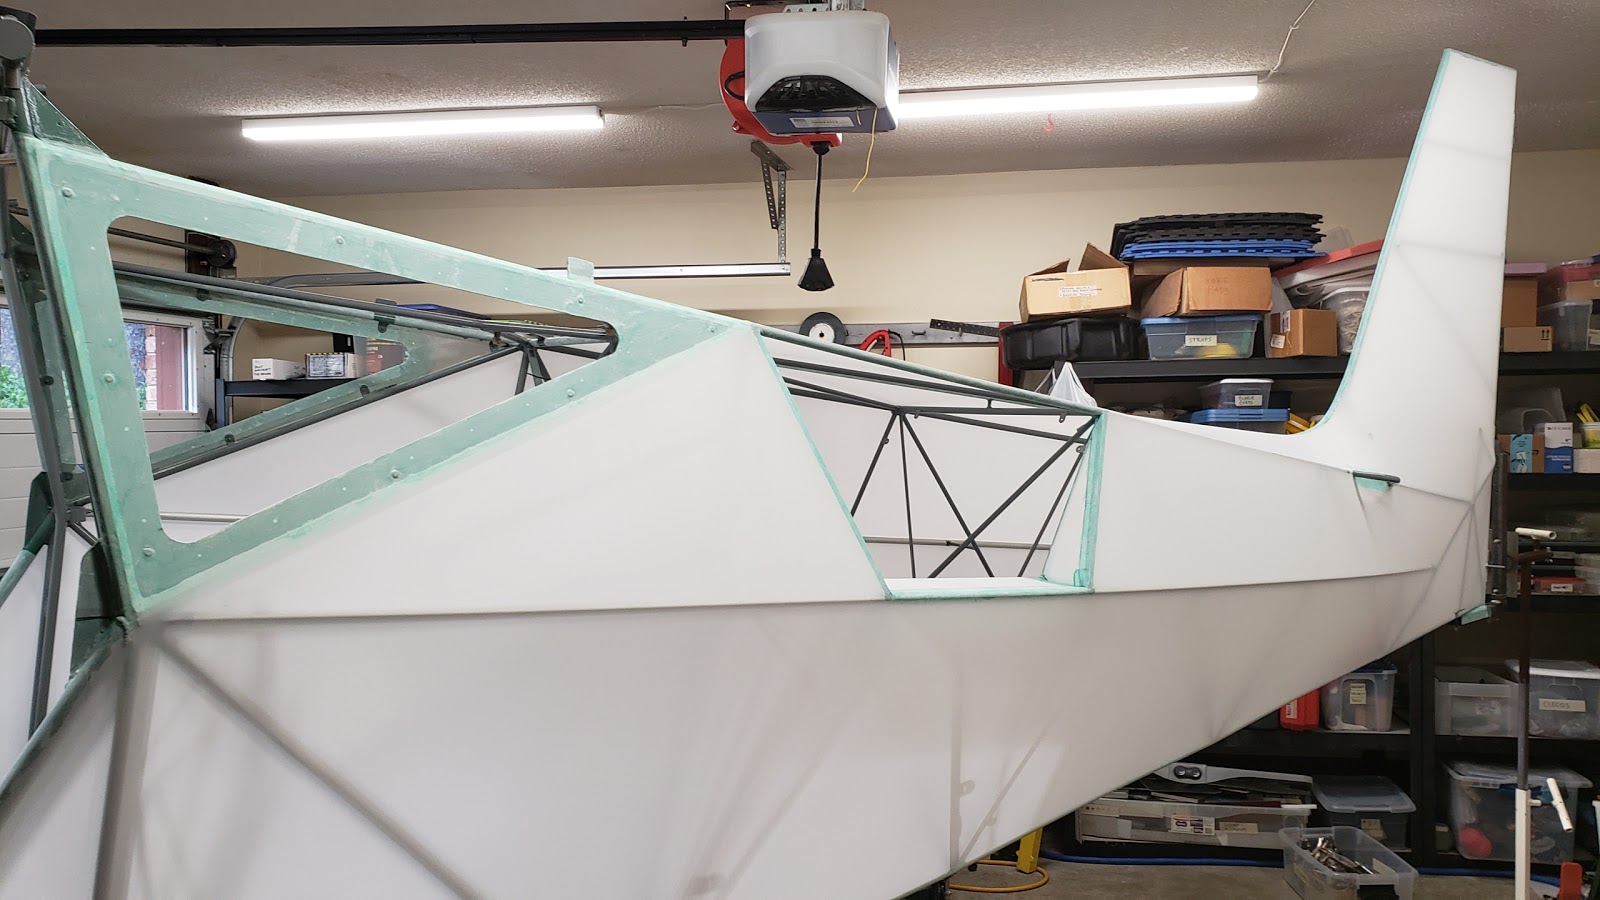
Unfortunately my tip is to cover the left side of the fuselage first so you have access behind the handle. I made a patch to go under the handle as seen in the photo. I put a piece of parchment paper between the patch and the fuselage tube during the covering process. The patch will make it much easier to deal with the slit in the fabric under the handle. Line up the fabric on the side of the fuselage and make a slit for the handle, then cut holes at each end of the slit so the fabric does not bind up around the handle base. Once the fabric is glued to the fuselage you can glue the slit to the patch underneath the handle. When the glue is dry you can pull out the parchment paper. The glue will not stick to the parchment paper so the patch will be glued to the outer fabric but nothing will be glued to the tube under the handle. The slit will be stabilized and will not move when you shrink the fabric. Since you have covered the right side of the fuselage, it's going to be difficult to glue the patch under the handle. I think you can get access to it from the large opening on the bottom of the fuselage. It won't be easy but if you take your time you should be able to do it with only a few "F" bombs.
When your applying tapes, start with a tape that is about two inches longer than the handle, slit at both ends to go around the handle bases. That first tape will cover the slit in the fabric under the handle. When you apply the tapes over the tube the handle is attached to, they will cover the slits in the tape on both sides of the handle. Just cut off those tapes at the front and rear of the handle.
I hope I've explained this so it makes sense, if not feel free to contact me with any questions.
Good luck
You do not have the required permissions to view the files attached to this post.
John Nealon
Wasilla, Alaska
Highlander Extreme #191
mykitlog.com/jnealon
Wasilla, Alaska
Highlander Extreme #191
mykitlog.com/jnealon
-
BDA
- Veteran Member
- Posts: 707
- Joined: Mon Aug 22, 2016 11:25 am
- Location: Kenai Alaska
Re: Fuselage Fabric
I cut the handle off about 1 1/2” away from fuselage on each end, then made a new handle out of the next size up tube and slid it over the stubs and bolted through after covering.
Oh, and I moved to the bottom longeron where it belongs too.
There pics in the thread here somewhere
Oh, and I moved to the bottom longeron where it belongs too.
There pics in the thread here somewhere
SuperStol XL Alaskan With Titan 340
N331AK. Shawn Taplin
Wing extensions,Symetrical Airfoil tail ribs (NACA 21)
Mods in progress: Heavier struts, Double slotted flaps
Goal: 15mph no wind
N331AK. Shawn Taplin
Wing extensions,Symetrical Airfoil tail ribs (NACA 21)
Mods in progress: Heavier struts, Double slotted flaps
Goal: 15mph no wind
-
BucF16
- Veteran Member
- Posts: 463
- Joined: Sun Mar 23, 2014 11:47 am
- Location: Alexandria, Ohio
Re: Fuselage Fabric
I wish i did what Shawn did.......BUT I did what All the rest did. i.e. Dane! Don't under estimate him, or all of the early sages! You can search any topic and find your answer!!!
Cheers,
Buc
Cheers,
Buc
Bruce Johnson Highlander # 393
"Because I fly, I envy no man on Earth"
Builder web site:
http://www.bruceshighlander.blogspot.com
"Because I fly, I envy no man on Earth"
Builder web site:
http://www.bruceshighlander.blogspot.com
-
mhcrowder
- Veteran Member
- Posts: 183
- Joined: Sat Aug 28, 2004 9:18 am
- Location: Cary, NC
- Contact:
Re: Fuselage Fabric
Thanks everyone for your comments. We are making progress. Got a few things to clean-up and then start the fabric shrinking process.
Building Highlander #371
http://highlander371.blogspot.com/
http://highlander371.blogspot.com/
-
Clark in AZ
- Veteran Member
- Posts: 356
- Joined: Wed Oct 07, 2015 11:40 am
- Location: Cave Creek, AZ
Re: Fuselage Fabric
I'm a week or so from starting the fuselage, please post some pics!sonex293 wrote:Thanks everyone for your comments. We are making progress. Got a few things to clean-up and then start the fabric shrinking process.
Clark
Building SuperSTOL Kit 512
Cave Creek, AZ
Cave Creek, AZ
-
Tralika
- Veteran Member
- Posts: 386
- Joined: Thu Oct 08, 2009 12:49 pm
- Location: Wasilla Alaska
Re: Fuselage Fabric
Clark,
There are a few things I wish I had known before I covered my fuselage that I could pass on to you but I don't want to type that much. I'll send you a PM with my phone number if you would like to call.
There are a few things I wish I had known before I covered my fuselage that I could pass on to you but I don't want to type that much. I'll send you a PM with my phone number if you would like to call.
John Nealon
Wasilla, Alaska
Highlander Extreme #191
mykitlog.com/jnealon
Wasilla, Alaska
Highlander Extreme #191
mykitlog.com/jnealon
-
danerazz
- Veteran Member
- Posts: 1240
- Joined: Tue Aug 18, 2009 9:33 pm
- Location: Bangor
Re: Fuselage Fabric
Just remember, screwing it up and wishing you did it another way is all part of the fun!
Dane
Paralysis by analysis
#242
Paralysis by analysis
#242
-
Tralika
- Veteran Member
- Posts: 386
- Joined: Thu Oct 08, 2009 12:49 pm
- Location: Wasilla Alaska
Re: Fuselage Fabric
I can only stand so much fun.
John Nealon
Wasilla, Alaska
Highlander Extreme #191
mykitlog.com/jnealon
Wasilla, Alaska
Highlander Extreme #191
mykitlog.com/jnealon
-
mhcrowder
- Veteran Member
- Posts: 183
- Joined: Sat Aug 28, 2004 9:18 am
- Location: Cary, NC
- Contact:
Re: Fuselage Fabric
Thanks Again Guys! The shrinking of the fabric has begun and it's coming out quite nice. Still need to shrink some more, but waiting for the glue around the baggage door opening to dry.
Building Highlander #371
http://highlander371.blogspot.com/
http://highlander371.blogspot.com/
-
Tralika
- Veteran Member
- Posts: 386
- Joined: Thu Oct 08, 2009 12:49 pm
- Location: Wasilla Alaska
Re: Fuselage Fabric
Be careful when your shrinking the fabric on the fuselage. Keep an eye on the longerons. Mine started to bend during the 300 degree shrink so I did not go any hotter than that. The Ceconite manual says to shrink to 350 degrees but I figure if it's bending the airframe, that's tight enough. I also got a little bending on the trailing edge of the Rudder and Elevator at 300 degrees. I went to 350 degrees on the wings with no problem.
John Nealon
Wasilla, Alaska
Highlander Extreme #191
mykitlog.com/jnealon
Wasilla, Alaska
Highlander Extreme #191
mykitlog.com/jnealon
-
gkremers
- Veteran Member
- Posts: 495
- Joined: Sun Aug 08, 2010 8:06 am
- Location: Michigan
Re: Fuselage Fabric
Ditto on what John said... I only heated to 275-300 on certain areas. Still got some scaloping on the trialing edges of the elevators and rudder.
Gary
Gary
-
mhcrowder
- Veteran Member
- Posts: 183
- Joined: Sat Aug 28, 2004 9:18 am
- Location: Cary, NC
- Contact:
Re: Fuselage Fabric
Good Tip. Thanks guys!
Building Highlander #371
http://highlander371.blogspot.com/
http://highlander371.blogspot.com/